
Jet Ski Bilge Pumps: Testing and Water Intrusion Checks
Learn how to conduct jet ski bilge pump testing and diagnose dangerous hull water intrusion to keep your engine bay dry and protected all season long.
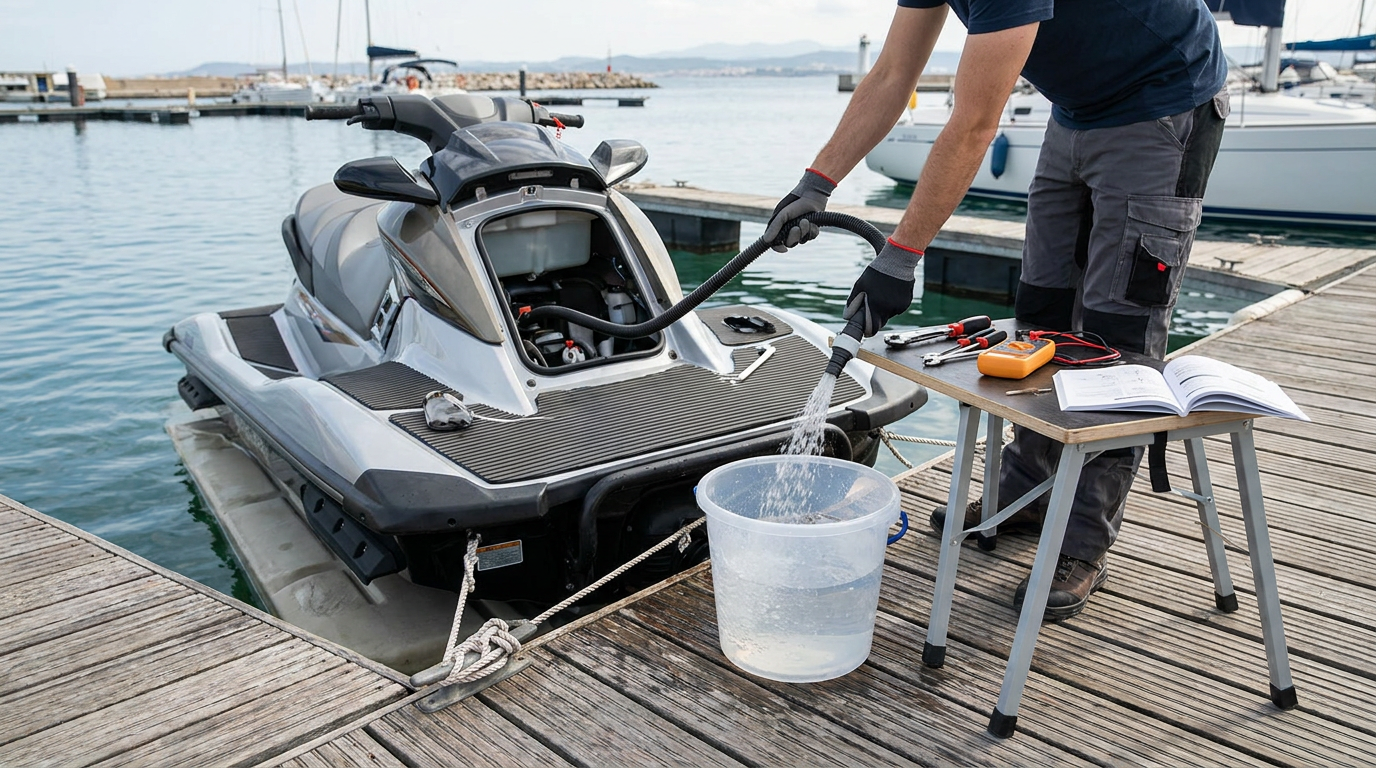
Jet Ski Bilge Pump Testing and Water Intrusion Checks
Every personal watercraft owner knows the sinking feeling that comes with opening an engine compartment to find standing water sloshing against the crankcase. Performing routine jet ski bilge pump testing is your primary defense against electrical failures, engine hydro-locking, and catastrophic hull flooding. Whether you are running offshore swells or carving calm inland lakes, knowing how your bilge evacuates water keeps you safe and afloat.
Water intrusion is an inevitable reality of riding aggressive watercraft, but excessive flooding indicates a failure in your safety systems. In this comprehensive guide, you will learn how bilge systems function, step-by-step methods to test electric pumps and siphon bailers, and proven techniques to track down mysterious leaks before your next launch.
Understanding Bilge Systems and Siphon Bailers
Modern personal watercraft rely on two distinct methods to keep the engine bay dry: passive siphon bailers and active electric bilge pumps. Manufacturers like Sea-Doo, Yamaha, and Kawasaki design engine bays with tight tolerances, meaning even a few gallons of accumulated water can submerge the starter motor, saturate electrical harnesses, and unbalance the hull.
Vacuum-operated siphon tubes use the natural venturi effect created by the jet pump nozzle to pull water out of the hull while the craft operates under throttle. However, these bailers do not function while idling, resting at anchor, or when the craft is tied to a dock. That gap in protection makes electric bilge pumps essential for total peace of mind.
Factory Siphon Systems vs Electric Bilge Pumps
Most stock watercraft, including many Yamaha WaveRunners, leave the factory equipped primarily with vacuum bailers fitted with simple mesh pickup strainers. These pickups feature one-way ball valves designed to stop exterior water from siphoning back into the engine compartment when you decelerate quickly.
In contrast, high-performance aftermarket setups and factory offshore packages on modern Kawasaki jet skis often feature dedicated electric pumps wired directly to the battery. An electric pump moves anywhere from 500 to 1100 gallons per hour regardless of engine speed, evacuating bulk water automatically via an electronic water sensor or mechanical float switch.
Step-by-Step Jet Ski Bilge Pump Testing Procedure
Executing regular jet ski bilge pump testing should be part of your pre-season commissioning and mid-summer routine. A pump that hums does not necessarily move water, as debris, cracked impellers, or frozen check valves can severely restrict flow. Follow this systematic testing sequence on the trailer before hitting the boat ramp.
First, inspect the physical pump housing located in the lowest pocket of the bilge. Remove the pump motor cartridge from its mounting base and clear out dried vegetation, zip-tie clippings, and grit that commonly clog the small plastic impeller blades. Spin the impeller by hand to confirm it moves freely without resistance.
Electrical Diagnostics and Float Switch Verification
Next, evaluate the electrical circuit powering your system. Turn the handlebar helm switch to the manual run position or use an insulated jumper wire across the float switch leads to verify instant 12-volt current delivery. Listen for smooth motor rotation without grinding sounds or high-pitched squeals.
For automated setups, conduct a wet float switch assessment to ensure true operational reliability:
- Ensure your hull drain plugs are firmly installed while the craft sits level on its trailer.
- Pour two to three gallons of fresh water directly into the bottom of the engine compartment.
- Observe whether the float rises freely and triggers the pump before water reaches the bottom of the starter motor.
- Verify that water discharges forcefully through the exterior through-hull outlet fitting without leaking behind the inner clamp.
- Confirm that the pump shuts off automatically once the water level recedes below the intake screen.
If the pump spins but fails to pump water out of the hull, check for an airlock in the discharge hose. A smooth hose routing with a continuous upward incline prevents trapped air bubbles from stalling the impeller during operation.
Identifying and Diagnosing Hull Water Intrusion Sources
Passing your jet ski bilge pump testing routine solves only half the equation, because a pump should handle minor spray rather than compensate for steady leaks. When you find clean or murky water rising in the engine compartment after a short ride, you must pinpoint the exact point of entry. Water intrusion typically stems from three vulnerable zones: drive line seals, exhaust plumbing, and exterior through-hull fittings.
Carbon ring drive shaft seals are the most frequent culprits on watercraft models that utilize floating graphite rings pressed against a stainless steel collar. If the carbon ring develops uneven wear, scratches, or weak accordion boot tension, cooling water pumped through the jet tunnel forces its way straight into the bilge under load. If you are shopping for used jet skis for sale, always inspect this seal area for graphite dust or spray patterns on the engine cover.
The Reverse Leak Test on the Trailer
When visual inspections fail to spot the origin of persistent water intrusion, performing a reverse flood test on dry land provides definitive answers. Elevate the trailer tongue slightly and insert both rear drain plugs securely. Using a standard garden hose, slowly fill the bottom of the hull with clean tap water, keeping the water level safely below the starter motor and electrical junction boxes.
Walk around the exterior of the craft with a flashlight and check underneath the hull, around the ride plate bolts, the intake grate inserts, and the driveshaft through-hull bearing. Any point where water drips outward onto the pavement represents a compromised seal where lake water forces its way inward under pressure. If you are evaluating a watercraft from our jet ski buying guide, completing this simple test protects you from expensive structural fiberglass repairs.
Preventative Maintenance and Upgrade Strategies for 2026
Riders operating in coastal chop or challenging chop like those found on Lake Mead often choose to upgrade beyond factory specifications. In competitive marine markets where riders browse jet skis for sale in Nevada or search active inventory across jet skis for sale in Florida, dual-pump redundancy has become a popular modern safeguard.
Installing an auxiliary 800 GPH automatic bilge pump alongside your stock factory bailers provides critical insurance if a cooling line ruptures offshore. Wire the primary automated pump directly to your battery through an inline waterproof marine fuse holder, allowing it to protect the craft while moored at sandbars. Connect a secondary pump to a handlebar toggle switch so you can manually dump excess water during rough riding sessions.
Always use marine-grade tinned copper wire, heat-shrink butt connectors, and fuel-resistant bilge discharge hose. Cheap automotive ribbed hoses crack easily when exposed to hot engine bay temperatures and fuel vapors, creating internal leaks that defeat the entire evacuation system.
Maintaining Resale Value and On-Water Confidence
A spotless, dry engine bay speaks volumes about how well a personal watercraft has been maintained over its lifespan. Water left sitting inside an engine compartment corrodes starter bendix gears, oxidizes wiring pins, and produces foul mildew odors that instantly turn away prospective buyers. Before listing your craft, check our jet ski valuation calculator to determine how documented maintenance impacts your true market value.
Whether you plan to maintain your current machine for seasons to come or intend to browse jet skis for sale to find your next upgrade, keeping water out of the hull remains the cornerstone of personal watercraft ownership. Make jet ski bilge pump testing a recurring habit, inspect your shaft seals regularly, and enjoy every hour on the water with complete mechanical peace of mind.
Frequently Asked Questions
How often should I conduct jet ski bilge pump testing?
You should test your bilge pump at the start of every riding season and verify basic pump function once a month during active riding periods. A quick electrical check and visual debris inspection take less than ten minutes and prevent unexpected failures on open water.
Why does my jet ski bilge pump run continuously without turning off?
A pump that runs continuously usually suffers from a stuck mechanical float switch or debris coating an electronic sensor. Mud, hair, and oil build up over time, tricking the sensor into detecting water. Clean the sensor base thoroughly with non-corrosive marine cleaner and retest.
How much water inside a jet ski hull is considered normal?
Finding a cup or two of water after an aggressive riding session with heavy wave jumps or deep carving turns is normal. However, if you find more than two inches of standing water or observe water accumulating while resting at idle, you have a seal leak or cooling hose failure that requires immediate attention.
Can I leave an automatic bilge pump connected to the battery all season?
Yes, modern solid-state automatic bilge switches draw negligible micro-amp standby power that will not drain a healthy marine battery over several weeks. However, if you store the ski for extended periods without riding, keep the battery on a smart maintenance trickle charger to ensure peak starting power.
Ready to buy or sell? Explore the jet ski marketplace, or sell your jet ski at Jet Sports Trader.
Related Articles
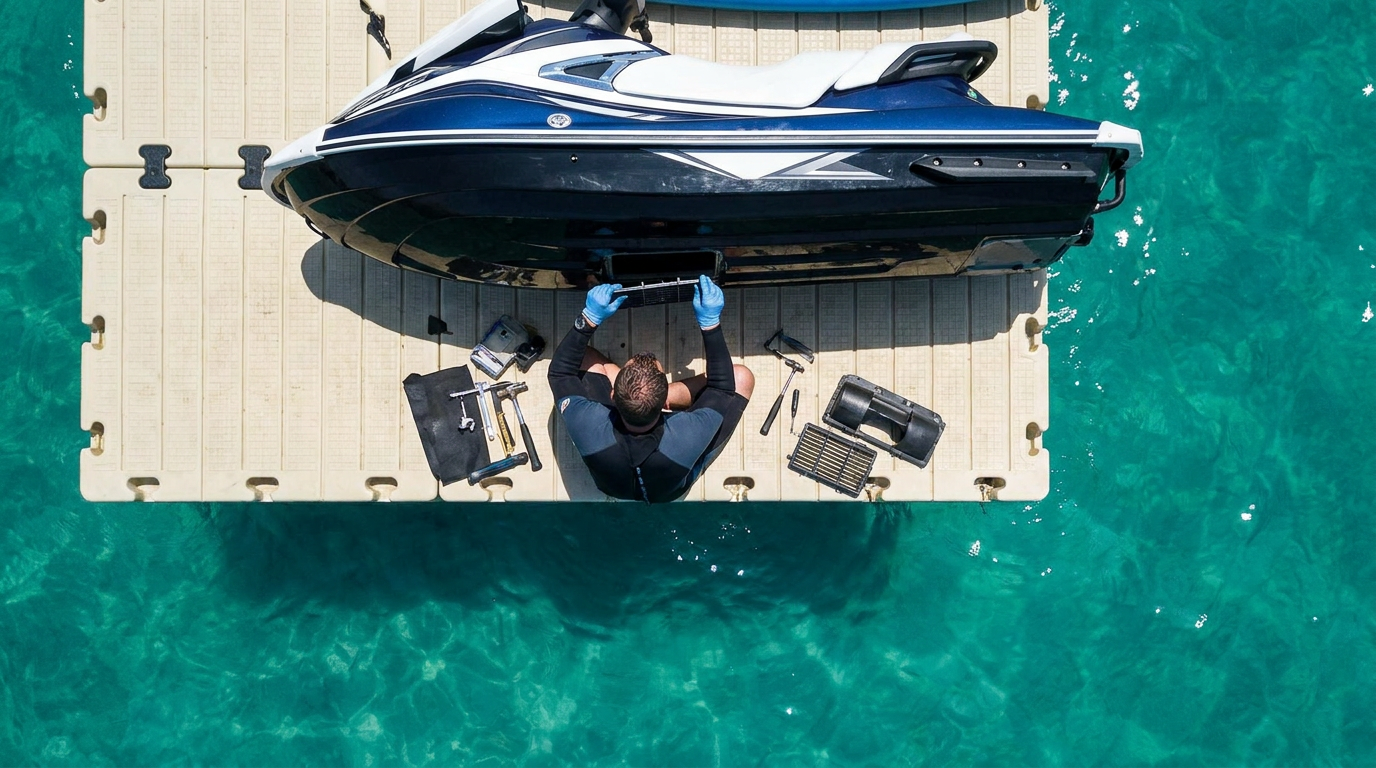
Jet Ski Intake Grate Inspection: Damage and Safe Replacement
Learn how to conduct a thorough jet ski intake grate inspection, spot dangerous wear, and complete safe replacements to protect your pump system.
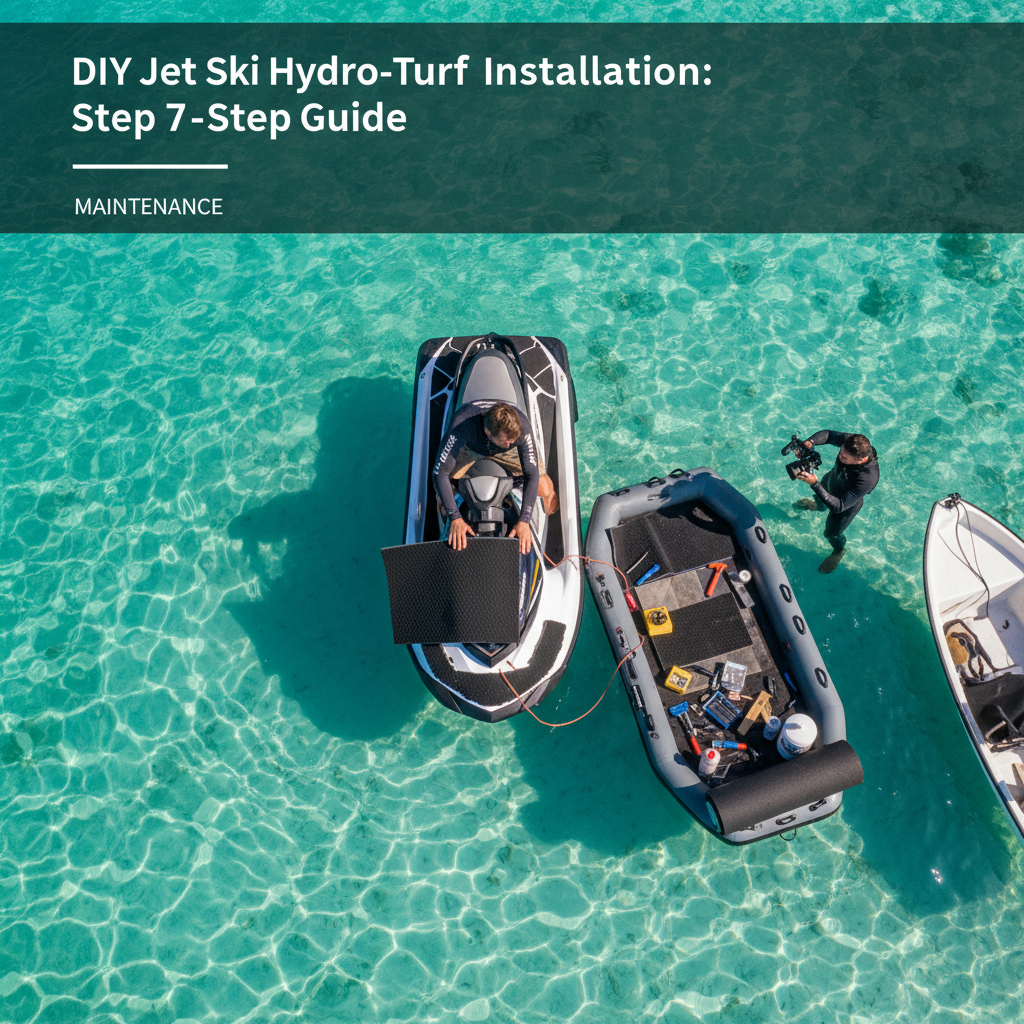
DIY Jet Ski Hydro-Turf Installation: Step-by-Step Guide
Ready to upgrade your PWC? Our step-by-step guide to DIY jet ski hydro-turf installation will help you improve grip, comfort, and style with professional results.

Optimizing Jet Ski Handling: Adjusting Ride Plates & Sponsons
Unlock your PWC's full potential. Our guide to jet ski handling adjustments for ride plates and sponsons will help you master cornering and achieve ultimate stability on the water.
Ready to Find Your Perfect Jet Ski?
Browse thousands of listings from trusted dealers nationwide