
DIY Jet Ski Hydro-Turf Installation: Step-by-Step Guide
Ready to upgrade your PWC? Our step-by-step guide to DIY jet ski hydro-turf installation will help you improve grip, comfort, and style with professional results.
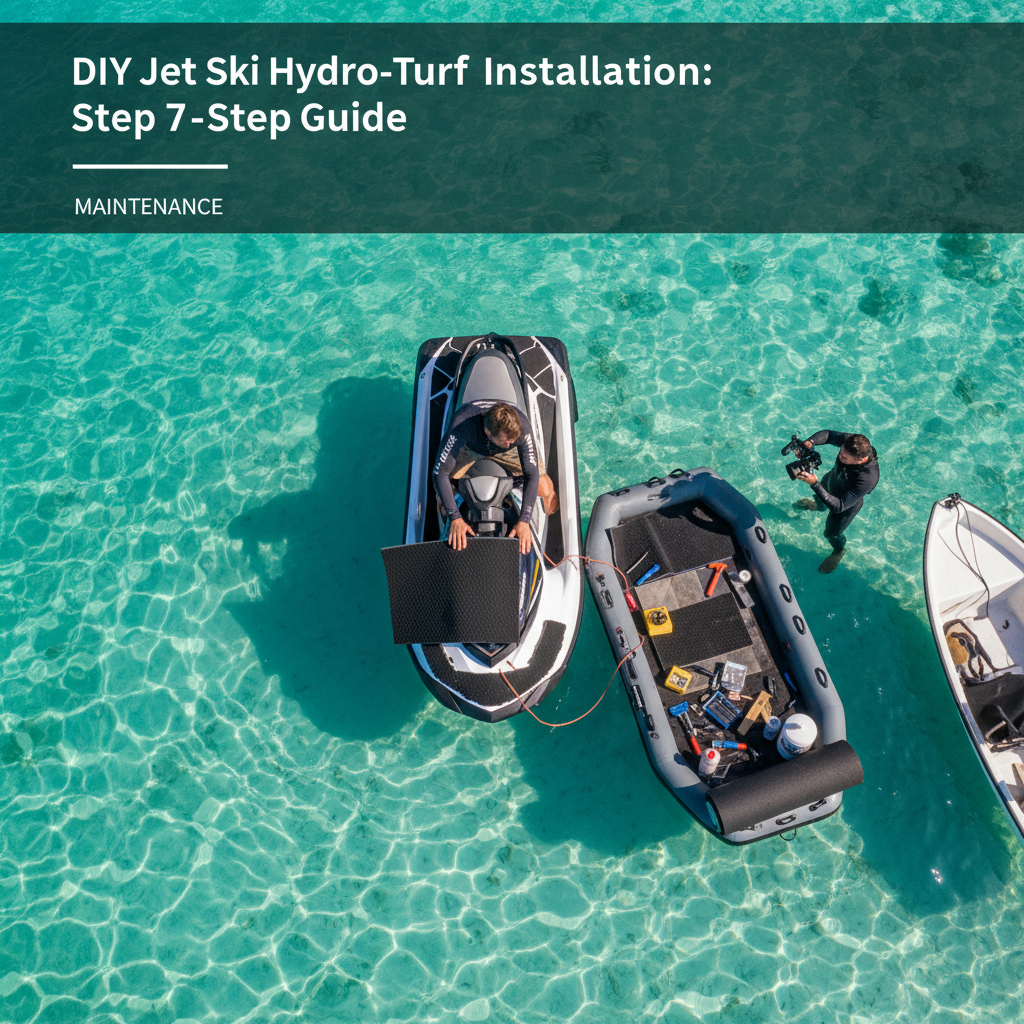
DIY Jet Ski Hydro-Turf Installation: Step-by-Step Guide
Is your jet ski's traction mat looking faded, torn, or peeling at the edges? Worn-out mats are not just an eyesore; they can be a serious safety hazard, creating a slippery surface when wet. Fortunately, there's a fantastic solution that enhances grip, comfort, and aesthetics all at once. This guide provides a complete walkthrough of a DIY jet ski hydro-turf installation, transforming your personal watercraft (PWC) and boosting its value. We'll cover everything from removing the old mats to ensuring a flawless, professional-looking finish that will last for years to come.
Why Upgrade to Hydro-Turf? The Benefits for Your PWC
Upgrading your stock PWC mats to Hydro-Turf is one of the most impactful modifications you can make. The benefits go far beyond just looks. First and foremost is safety. Hydro-Turf provides exceptional, non-slip grip even when soaked, giving you the confidence to make sharp turns and reboard easily from the water. This added traction is a game-changer for both aggressive riding and family fun. Comfort is another huge advantage. The material has excellent shock-absorbing properties, reducing the fatigue you feel in your feet and legs during long days on the water. This makes every ride more enjoyable. Of course, the aesthetic improvement is undeniable. With a vast array of colors, textures, and patterns available in 2026, you can customize your ski to reflect your personal style. A fresh set of mats can make an older PWC look almost new, which is a major plus if you're considering selling. A clean, well-maintained ski with fresh turf often looks as good as some of the newly listed jet skis on the market. Finally, Hydro-Turf is incredibly durable. It's designed to withstand harsh marine environments, resisting damage from UV rays, salt water, and fuel spills, while protecting the fiberglass deck underneath.
Essential Tools and Materials for Your Installation Project
Before you begin your project, gathering all the necessary tools and materials is crucial for a smooth and successful installation. Having everything on hand will prevent frustrating interruptions and help you achieve a professional result. A well-prepared workspace is a key part of a great jet ski hydro-turf installation. Don't be tempted to take shortcuts here; the right tools make all the difference between a job that looks great and one that fails prematurely. Here's a comprehensive list of what you'll need.
Gathering Your Supplies
To ensure your project goes off without a hitch, make sure you have the following items ready. We strongly recommend choosing a Hydro-Turf kit with the PSA (Pressure Sensitive Adhesive) backing for the easiest and cleanest application, especially for first-timers.
- Hydro-Turf Mat Kit: Choose a pre-cut kit for your specific PWC model or a sheet of material if you plan to create a custom template.
- Heat Gun or Hair Dryer: Essential for softening the old adhesive for easier removal.
- Plastic Scrapers or Putty Knives: Use plastic tools to avoid scratching or gouging your ski's fiberglass.
- Adhesive Remover: A citrus-based remover or acetone works well to dissolve the stubborn, sticky residue left behind.
- Cleaning Supplies: Plenty of clean rags, paper towels, and isopropyl alcohol for the final surface wipe-down.
- 3M Adhesion Promoter 94 (Optional): A primer pen or can that significantly improves the bond in critical areas like edges and corners.
- Sharp Utility Knife: Necessary only if you are using sheet material to cut your own patterns.
- Safety Gear: Always wear chemical-resistant gloves and safety glasses to protect yourself from solvents.
The Step-by-Step Jet Ski Hydro-Turf Installation Process
With your materials gathered, it's time to begin the transformation. This process is straightforward but requires patience and attention to detail. The key is to work methodically and not rush, especially during the surface preparation phase. We'll break down the entire jet ski hydro-turf installation into four manageable stages. Following these steps carefully will ensure your new mats adhere perfectly and look fantastic for seasons to come, whether you ride one of the latest Yamaha WaveRunners or a classic model.
Step 1: Removing the Old Traction Mats
The first physical step is to get rid of the old, worn-out mats. Start by using your heat gun on a low to medium setting, warming up a small section of the mat at a time. Do not overheat one spot, as this can damage the gelcoat. The heat will soften the underlying adhesive. Once a section is warm, use a plastic scraper to carefully pry up a corner. Work the scraper underneath the mat, applying gentle, steady pressure. Continue heating the area just ahead of where you are scraping. For particularly stubborn mats, you can slide a piece of fishing line or a thin wire under the mat and use it in a sawing motion to cut through the old glue.
Step 2: Prepping the Surface for a Perfect Bond
This is the most critical step of the entire process. The longevity of your new Hydro-Turf depends almost entirely on how well you prep the surface. Once the old mats are off, you'll be left with a sticky mess of old adhesive. Apply your adhesive remover and let it sit for a few minutes to dissolve the glue. Then, using your plastic scraper and rags, scrub away all the residue. You may need to repeat this process several times. The goal is a surface that is 100% clean. Once all the adhesive is gone, wash the area with soap and water, rinse thoroughly, and let it dry completely. As a final step, wipe the entire surface down with isopropyl alcohol to remove any remaining oils or contaminants. A pristine surface is non-negotiable for a lasting bond.
Step 3: Applying the New Hydro-Turf Mats
Before you peel any backing, perform a 'dry fit' of every single piece. Lay each mat in its designated spot to confirm the fit and alignment. This is your last chance to make adjustments. Once you're confident in the placement, you can begin the application. If you're using a kit with PSA, start by peeling back just a few inches of the adhesive backing from one edge. Carefully align this edge with your reference points on the ski. Once it touches the surface, it's committed, so be precise. Slowly and evenly, peel away the rest of the backing while simultaneously pressing the mat into place. Work from the center outwards to push out any potential air bubbles. Apply firm, even pressure across the entire surface of the mat with your hands. For best results, use a small J-roller to ensure every square inch makes solid contact with the fiberglass.
Step 4: Curing and Final Touches
The adhesive needs time to cure and form a permanent bond. Hydro-Turf recommends a minimum curing time of 24 hours in a dry, temperature-controlled environment before the PWC is exposed to water. During this time, go back and press down firmly on all edges and corners one last time. Inspect your work closely for any lifted edges. If you find one, you can sometimes apply a small amount of marine-grade super glue for extra security. After the curing period, your jet ski is ready to hit the water. This upgrade not only improves your ride but adds significant resale value, a great benefit whether you're selling locally or listing on a nationwide marketplace with options from jet skis for sale in Florida to jet skis for sale in New York.
Common Mistakes to Avoid During Installation
Even a straightforward project can go wrong if you're not careful. Avoiding these common pitfalls will help ensure your DIY project is a success. The biggest mistake is rushing the surface preparation. An unclean or improperly prepped surface is the number one reason for adhesive failure. Take your time and be meticulous. Another error is installing the mats in direct sunlight or in very hot, humid conditions. The adhesive works best in a controlled temperature range, typically around 70-80°F. Extreme heat can make the adhesive overly aggressive and difficult to position. Conversely, cold temperatures can prevent a strong bond from forming. Also, be careful not to stretch the material during application. Lay it down naturally. If you stretch it, it will slowly try to shrink back to its original size over time, which can create gaps and cause the edges to peel up. This attention to detail is what separates a professional job from an amateur one, no matter if your ski will be cruising the lakes in South Carolina or the coastline of North Carolina.
Frequently Asked Questions (FAQ)
Here are answers to some common questions about this popular PWC upgrade.
How long does Hydro-Turf last?
With a proper jet ski hydro-turf installation and reasonable care, a set of mats can easily last 5 to 7 years, or even longer. Factors that affect lifespan include the amount of sun exposure, how frequently the ski is used, and how well it's maintained. Rinsing the ski with fresh water after each use helps prolong its life.
Can I install Hydro-Turf over the old mats?
No, you should never install new traction mats over the old ones. The adhesive is designed to bond directly to the clean, non-porous fiberglass surface of your PWC. Attempting to stick new mats onto old, deteriorating foam will result in a weak bond and guaranteed failure in a very short time.
What is the difference between PSA and non-PSA Hydro-Turf?
PSA stands for Pressure Sensitive Adhesive. PSA-backed kits come with a high-quality, 3M self-adhesive backing already applied. You simply peel and stick. Non-PSA kits are plain foam and require you to purchase and apply a contact cement separately. For any DIYer, we overwhelmingly recommend the PSA option for its simplicity, cleanliness, and superior bond.
Conclusion: Enjoy Your Upgraded Ride
Congratulations. By following this guide, you've completed a professional-quality jet ski hydro-turf installation that not only makes your watercraft look incredible but also enhances its safety and comfort. You've added tangible value to your machine and personalized it to your taste. Now the only thing left to do is get out on the water and enjoy the fruits of your labor, feeling the improved grip and comfort under your feet. If this project has you inspired to make an even bigger upgrade, why not browse jet skis for sale on JetSportsTrader.com? We have the nation's best selection of new and used personal watercraft. Whether you're a seasoned rider or a newcomer to the sport, find your next adventure with our extensive listings of jet skis for sale today.
Ready to buy or sell? Explore the jet ski marketplace, jet ski valuation calculator, or sell your jet ski at Jet Sports Trader.
Related Articles

Optimizing Jet Ski Handling: Adjusting Ride Plates & Sponsons
Unlock your PWC's full potential. Our guide to jet ski handling adjustments for ride plates and sponsons will help you master cornering and achieve ultimate stability on the water.
Jet Ski Trailer Bearings: Grease, Maintenance & Emergency Fixes
Don't let a breakdown ruin your day. Our expert guide covers everything about jet ski trailer bearings, from grease and maintenance to emergency roadside fixes.

Jet Ski Performance Tuning: ECU Flashes, Impellers & Aftermarket Mods
Unlock your PWC's true potential. This guide to jet ski performance tuning covers ECU flashes, impellers, and aftermarket mods to boost your speed and acceleration.
Ready to Find Your Perfect Jet Ski?
Browse thousands of listings from trusted dealers nationwide